Wednesday, 28 September 2016

... And Grows...

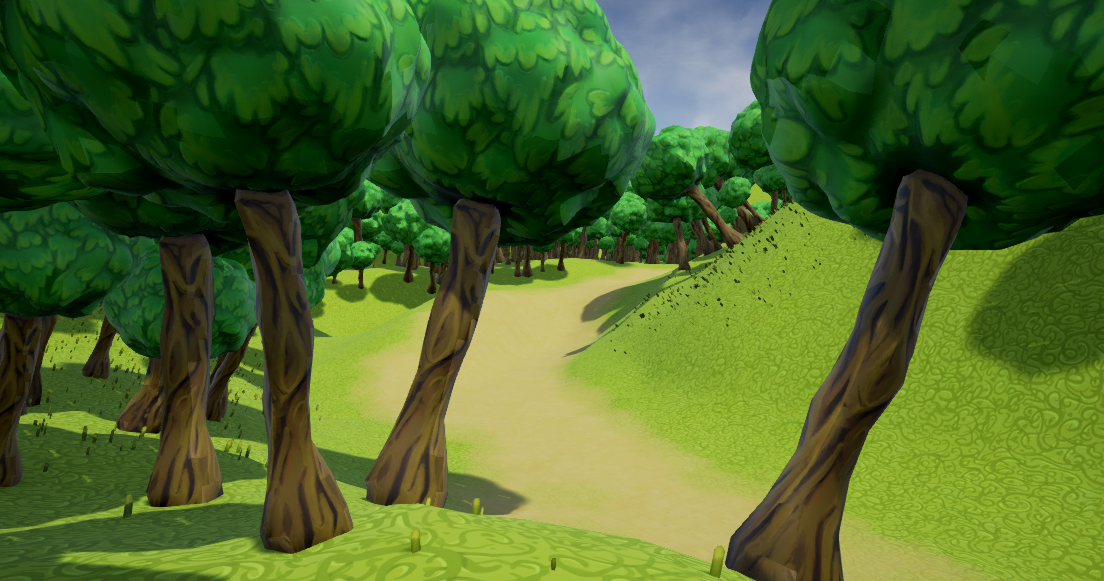
Onto stage 2 of my forest's development now! I have my landscape set out and all trees are planted, so now I've been able to move onto adding more props. Here are some screenshots:


Alongside making the individual strands of grass stand out more I've also been adding various plants and mushrooms. While I've only really just begun the process of adding them (and have been taking my time as I need to get it right!), I feel that they have already added much more life to the forest.

Finding the correct amounts to add of each has been an interesting process with a lot of trial and error. As mentioned in a previous blog post I did test various densities of foliage before I rebuilt my environment, but I feel that it is much better represented when among trees and other props. The individual pieces of grass work as intended and I am happy with those, though higher concentrated areas of flowers have had a hit and miss effect. Here are some examples:


These flowers work well when spread out, though can also have a few in the same general area. They're fairly large so take up a lot of space individually, which works well with how minuscule their population is. 

When you have a lot of them grouped together, however...


Not such a good effect. :( 

When close together the flowers begin to fight for space and overlap - it doesn't look great! So for this particular plant it's best to have few of them placed over areas in which they have enough space to breathe. I need to test this with the other flowers also, though they are a lot less demanding with space and so far have reacted better to being placed closer together.

Then finally to finish off on, here's a screenshot I took of two little buddies having a peep at what's going on! I wonder what they're thinking about?


Monday, 26 September 2016

A-OK Day

I was recently given the wonderful opportunity to design a logo for UCLan's upcoming event, A-OK Day - an event designed to help spread kindness and good vibes across campus.

Over the last few days I've noticed that the logo has begun to appear across campus - how exciting! So I also took this as a sign that it's now okay to make a post about. :)

Here is a banner with the logo:


There is also another lighter variation of the logo but I'm yet to see that on anything other than a passing screen so far so unfortunately I don't have a HQ version to post yet! 

For anyone attending UCLan who would like to take part in the event, you can get your FREE tickets via the EventBrite page here. :)

I'd like to give a huge thank you to UCLan for the opportunity to be a part of such a wonderful event, and if any of you reading can attend then I would highly recommend doing so! You may even be able to get some free swag with a particular person's logo printed onto it... ;) 


Friday, 23 September 2016

Sketchbook Progress

Alongside the digital art I've been posting, I have also been drawing away in a little sketchbook. Be it on journeys to town, while sitting in the garden or just because I didn't feel like staring at a screen, I've been sure to keep working as often as I can.

I finally got around to scanning the pieces I've made in my sketchbook, so here are some of them:


The images themselves are quite big, so you can click on them to get a closer look if you'd like to do so. :)

A lot of these were quick brainstorming of ideas that I would suddenly get and need to write down, and it's been great in helping me get used to carrying a sketchbook around with me more often. ;D 

Wednesday, 21 September 2016

The Forest Grows...

Summer has officially come to an end and I am back in jolly Preston ready for the final sprint of my MA. 

This is terrifying so we'll just skip over that part for now and focus on something a bit more positive... ;)

Being back in Preston means that I've regained my access to UE4 - hooray! While my Surface Pro is lovely at running Skyrim (because that's just what we all need, obviously), it's unfortunately not as confident with UE4, so I've had to lay off it (for the most) part during summer. Though I am back now (and writing this blog post as I wait for a build to finish, actually), and it feels good to see some actual progress finally being made on my forest.

Here's a look at how the process has gone so far:

Building Terrain


For my original forest felt incredibly off - there was something just not sitting right with it at all and I had great difficulty actually figuring out what that thing was. 

And then it hit me.

Forests need depth. They're not all one flat surface like my previous forest, but instead molded around the nature within it - and none of that nature is equally flat or aligned. Forests need high and low ground, broad and narrow paths, barren and cluttered areas. 

With this new breakthrough I decided it was best to scrap my original 'plan' for the forest and resculpt it. Here's a comparison:


The top image is my original 'plan' for the forest, while the second image is the revamped design. As you can see there's a pretty significant difference between the two. The first plan only had proper dips around the planned lake - other than that it was all fairly even and not very interesting.

With the new design, however, I decided to get rid of the lake and instead make paths going all the way around for players to explore. This will lead them to different clutters of characters, fairy circles, and some dark and mysterious areas. Even before adding foliage and characters, I already felt more confident about this revamp.

Adding Trees


With the terrain more or less agreed on, I then got to adding trees and some individual grass strands. While the forest will have a variety of different elements to it, the trees are by far the most prominant element of them all. It's important that by adding the trees I can make the forest feel warm and intimate - if there are too many empty, open spaces then it won't have that cosy effect that I need to create. 


As you can see in the bottom image - not all of the trees took too kindly to the terrain and looked as though they were falling. :'D So I then took the mesh into Maya and made some alterations:


Now the scene uses two tree meshes - the original, which is simply straight up, and an altered version for on slopes. Trees always grow towards the sun, so it didn't make sense to have so many of them on an angle. Sorted!

From here I'm going to continue to gradually add the rest of my meshes, as well as some sounds to go with and that kind of thing. I'll post updates as I go along, so you'll get to see the whole process. :)

Tuesday, 13 September 2016

2016 Women in Games Conference

This past Wednesday I had the incredible opportunity of attending the 2016 Women in Games Conference at the University of Greenwich. 

Before I begin, I need to give a HUGE thank you to Marie-Claire Isaaman and David Smith for selecting me as a student competition winner - this meant that my ticket, travel & accomodation were all paid for and because of this I was able to attend an event that I will hold close to me for a long, long time. So thank you so much once again. <3 

Throughout the day I attended various inspiring talks ranging from how to expand the number of women within the games industry, to talks on animation and how to kickstart your career in games, alongside various other inspiring keynotes. There was mention of the event being recorded via Twitch, so hopefully videos will be appearing soon that I can provide links to! 

Between talks we had small coffee breaks (one in particular was accompanied by cookies and to say I was happy is an understatement ;) ), where we were able to mingle with fellow guests and talk to others within the industry.

I think a noteable part of the day for me was during lunch time while we were queueing for food - I turned around and right behind me was Jessica Curry (of Dear Esther & Everybody's Gone to the Rapture fame). I was starstruck! But the amazing thing about this industry is that she was so kind and welcoming - so much so that even after I had babbled on to her about how I saw her on TV and how she's an inspiration etc etc, we were then laughing and joking about things and having a regular, natural conversation. It didn't feel like I was intruding, if anything she made me feel warm and very welcome. 

And this was an experience I felt with every single person I spoke to both during the event and at the pub afterwards. Nobody made me feel small or like I was 'just a student'. Every conversation was greeted with visible enthusiasm about what I am doing in my studies, about what it is I'd like to do once I'm finished. Everybody was so kind and welcoming and for someone who is not too great at initiating conversation with strangers, I must thank you all so much for that. <3 

And finally, I want to give a shout out to an amazing group of girls that I had the pleasure of staying with during the event. There were 6 competition winners in total, and every single one of the other girls are insanely talented, passionate and wonderful. I'm going to link to their websites below and would highly recommend that you take a look. :) 

Here are some photos from the event to finish up with, just to add some colour to this long, wordy blog post! I would have cut it down shorter but I feel that something that meant so much deserves the long wall of text. ;)


More images from the conference can be found here!

As promised above, here are links to the websites of the other competition winners (in order of the picture above):

Sarah Wright
Amy Parish
Robyn Wilkinson
Liz Mercuri
Hannah Aicken


Saturday, 20 August 2016

Double Sided Materials

Since I last tried to create a double sided texture in Maya, I thought about whether or not there was an easier and more accessable solution. UE4 is great for many things, so why not double sided textures? Turns out my buddy UE4 had my back and has that as an option afterall, so let's go through it. :D 

UE4 has Blueprinting which is similar to the Hypershade in Maya, just it's directly in engine so I don't need to figure out a way to export or add it in or anything like that. As long as it's in the blueprinting it'll be in-game!

I tried a couple of ways - one which worked slightly but not quite (though it did give an interesting effect), and one which worked perfectly. Here's the first one that didn't quite work, along with what it created:


The second 'Lerp' is for the material's Alpha so that it has transparency, so that part isn't necessary - just the top one. Now as you can see it sooorta worked, but it isn't quite doing what I wanted. It'd be interesting to test this effect on other meshes though, as I like the alien-esque effect it gave to my mesh. 

Now this is the blueprint that worked correctly:


 (You can click the images to see them on a larger scale!)

This blueprint is a little fiddlier but not by too much, and it gets the intended effect. As you can see the mesh now has two separate textures for each side, which is perfect! 

The individual textures aren't visible in the screenshot so let me explain - to do it you need to make sure you have the front and back textures imported, and then place them both into the Blueprint as a 'TextureSample'. Then you can just go from there with the rest of the blueprint. :D

I also made a little gif showing what the mesh looks like with the Sine&Panner combo added, so here's that to end this post with:


Foliage Testing

With my props made and things starting to take shape, I've began to head over to UE4 and start prepping to put my final forest scene together. 

Part of this process is figuring out where and how to place my flower props. 

Lucky for me, I was given some extra inspiration recently from No Man's Sky, a game that there's a good chance you're already aware of! Just in case you aren't, here are some screenshots of what it is:


No Man's Sky is made up of billions of unique planets - each with their own eco system and various plant combinations. 

I find huge inspiration in how vast these plants are - you can walk around within them across a whole planet, and the way in which they are implemented makes it a joy rather than a bother. 

The main issue I had with my previous version of the forest was how bare it felt. Sure, it had trees and some plants, but I really felt as though it was missing something - it really needed more life.

With the added inspiration from No Man's Sky I feel that I'll be able to populate the forest in a much more effective way, and so will need to create various types of grass to go with the plants I have created. It's a little extra work, but it'll be worthwhile!

Now back onto the tests that I mentioned earlier. Here are some images of the foliage tests I have conducted so far:


As you can see from the top image, it was originally waaaay too populated. It's great to have plants everywhere to create a denser forest, but you don't want a player to feel as though they're drowning in them.

The second image shows a much less dense population of plants. There are still a lot of them, but it feels a little more realistic and (in my opinion) allows you to breathe a little more.

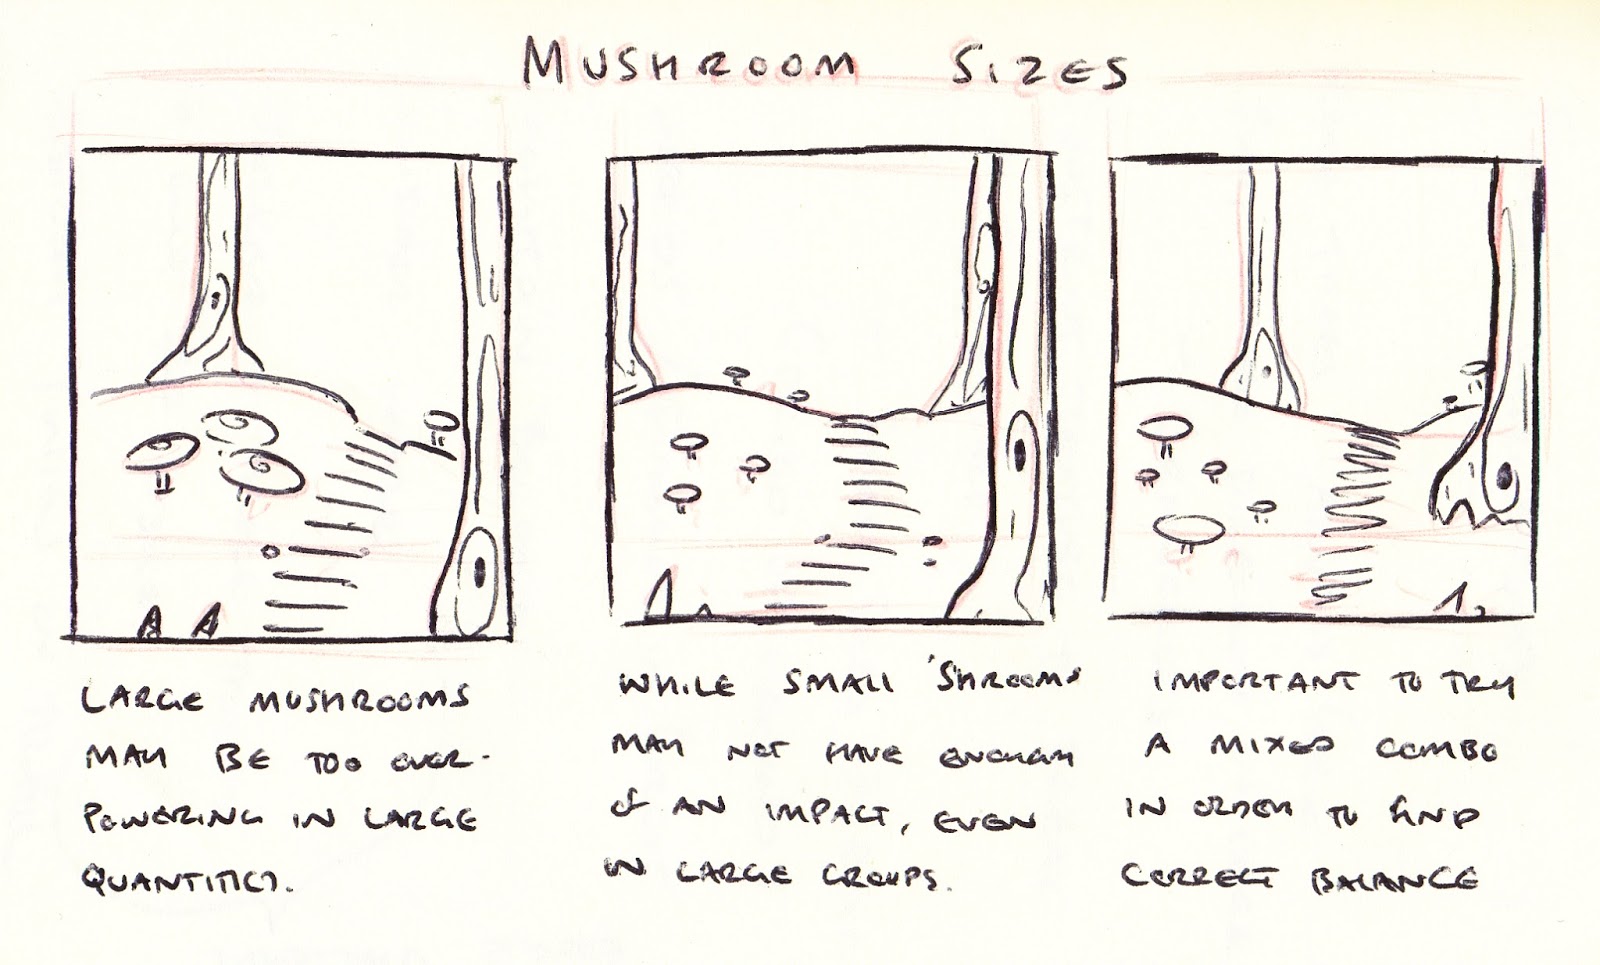
I have to consider that trees and bushes will be added in alongside these, plus various creatures and other grass foliage, so it's important to not get too carried away and allow it to get too crowded. Once I have created the extra grass assets my next step will be to add the remainder of my props to the scene, and it's then that I'll be able to (hopefully!) figure out the correct balance. :)