Friday, 8 July 2016
Blooming Flowers!
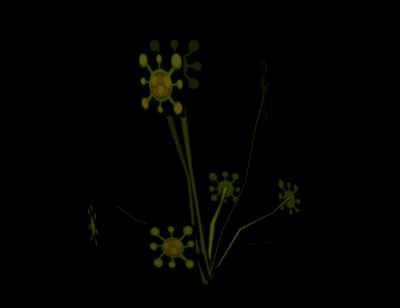
Next on my to-do list is creating a bunch of flowers for my forest. The forest I made during semester 2 felt a bit bare, and a lack of flowers was part of the issue.
The designs above are the flowers I'll be creating, and I've already begun by creating one of them. Here it is:
(Screenshot in Sketchfab)
(Screenshot in Maya)
Now as you can see there's a bit of an issue with the flowers themselves. It's a single face, so the texture is the same on both sides - not ideal! I did have a mess around and fix this within Maya (though Sketchfab doesn't seem to accomodate this), so I'll go through that process now...
It's a little bit like Blueprinting in UE4, just instead you use a thing in Maya called 'hypershade'. This is where you can mess with features for various materials and that kinda thing. Here's the hypershade setting I used to make these faces project 2 different textures onto my mesh depending on the side:
So just to explain a little bit as I know it may look a little confusing...
'phong1' is the material applied to the model itself. 'lambert3' and 'lambert4' are the two materials that are projected onto 'phong1' depending on which side of the face they're applied to, and 'condition3' is what decides which one of these is shown on each side. Make sense?
So with this applied to the model, it then looks like this:
Now as you can see it is showing different textures depending on whether the face is facing outwards or not. Great! The only issue (and this is what I need to fix next) is that it no longer takes the alpha channels into account, and so the transparency stops working.
The next step for this flower is to see whether or not the transparency issue is still a problem when added to UE4. Fingers crossed it won't be, but if it is I'll write another blog post on how to fix it... assuming I can figure out how to myself... ;)
Subscribe to:
Comments (Atom)


